General Course Information | Pi Web Server
Turn Your Raspberry Pi Into a Web Server!
Hosting a single website or multiple websites shouldn't cost you a fortune.
Now you can host your very own website(s) from your Raspberry Pi that sits on your desk! I've created this guide with beginners in mind. From purchasing your domain, SSL certificates, installs, configurations, all the way to the point of your site being available to the world! I walk you through every step of the way. I provide all the steps, commands, and tons of screenshots to make setting up your server for the first time way less challenging!
The best part is, this guide is built within a forum. So if you find yourself stuck, simply post your issue(s) and I will be there to help!
You might be thinking, "I'm sure there is a free guide out there for this." Don't get me wrong, there are plenty of guides out there. But they generalized and usually only go through one step of the setup process.
This guide gives you everything you need, step-by-step with no missing pieces.
This Guide Includes the Following:
- Preliminary Information
- Update Hostname, Configure Static IP & Change Default Password
- Getting Your Domain Name & SSL
- Getting Your Dynamic DNS Service
- Port Forwarding
- DDClient (Dynamic DNS)
- Webmin
- Apache2 & Virtual Hosts
- SSL Setup & Certificates
- SQL
- PHP
- WordPress Configuration & Installation
- Conclusion
Items NOT Included in this Guide that You'll Need:
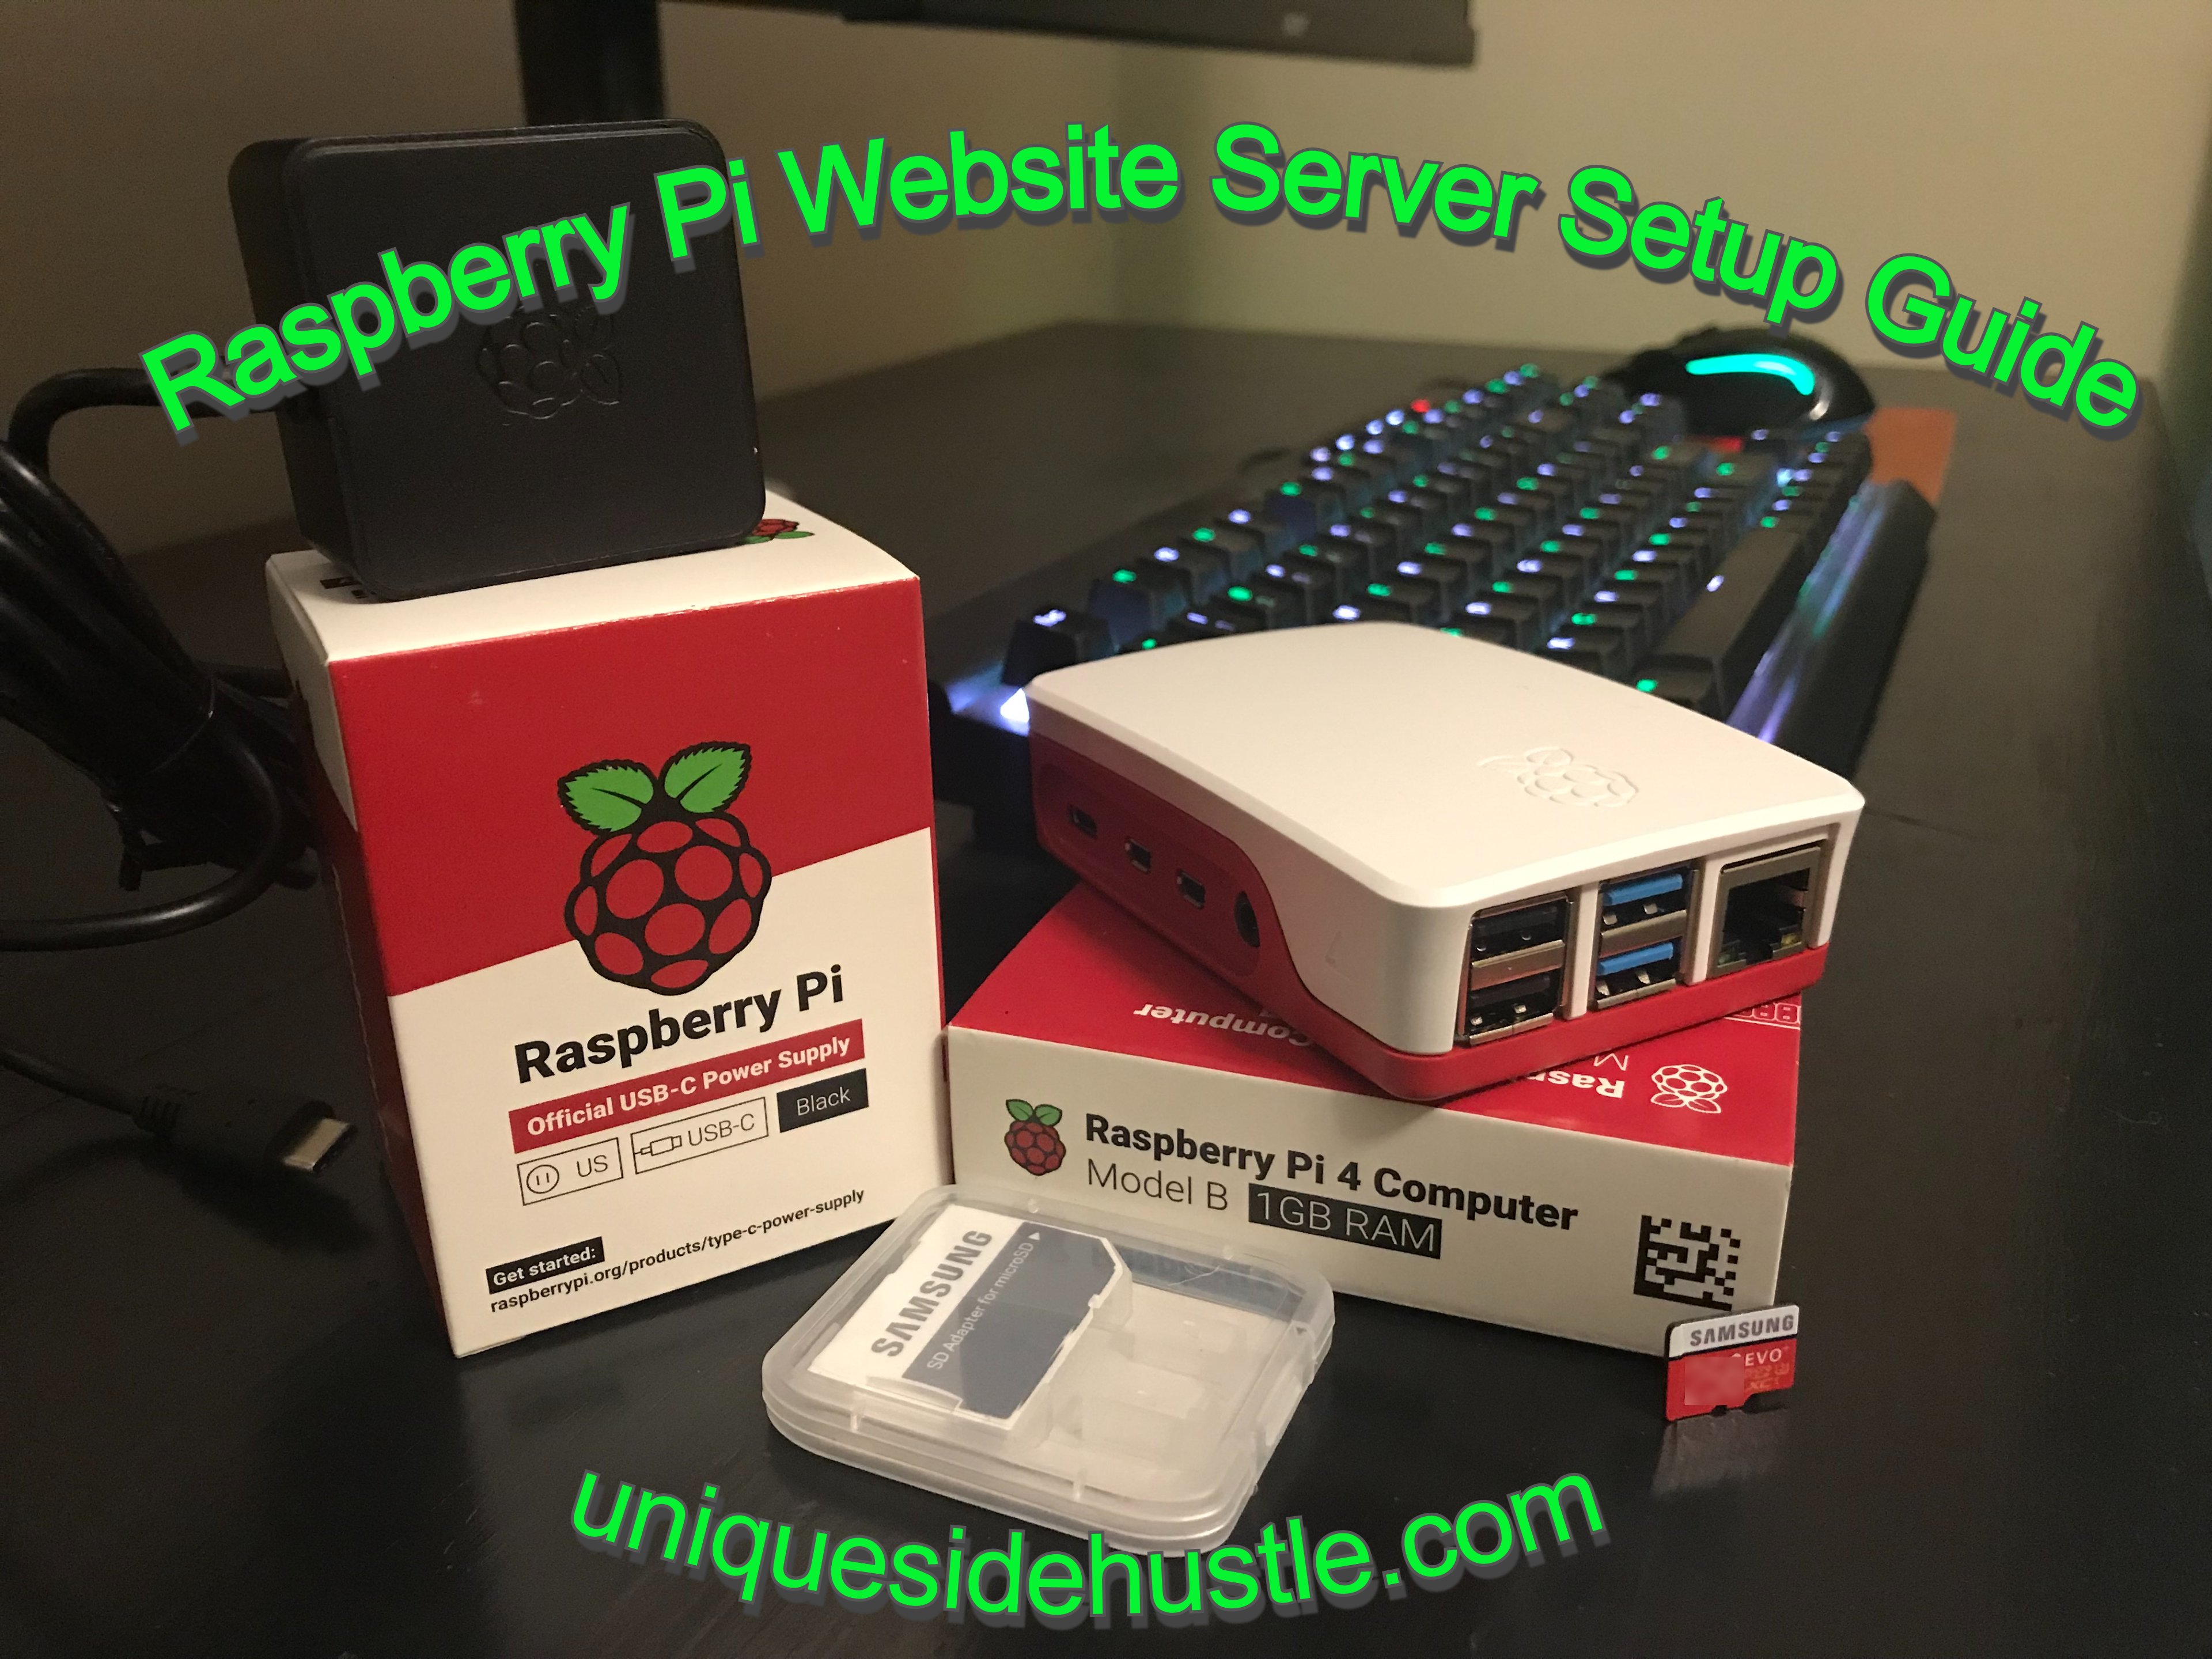
- Raspberry Pi (any model will work. Preferably one with an Ethernet port)*
- SD card for your Raspberry Pi with the Raspberry Pi OS (Raspbian) installed
- Raspberry Pi Power Supply
- Ethernet Cable (if your Raspberry Pi has an Ethernet port)
- Password to your internet router
- Highspeed internet connection
- Keyboard/Mouse OR a computer to remote connect into the Raspberry Pi
*Don't have a Raspberry Pi? That's actually totally fine. If you have an old PC laying around, you can install Linux Ubuntu on that machine and follow all the same steps! The only section that will be different for you is 'Update Hostname, Configure Static IP & Change Default Password'
NOTE - I use Namecheap as the domain registrar. You can use this guide even if you use a different domain registrar, but your steps may be different. Transferring your domain to Namecheap would be beneficial as they offer some very nice features we will be using free of charge.
Click here to purchase course --OR-- Click here to see in course list- Published
- Nov 18, 2022
- Page views
- 1,489